Getting beverage center installation right keeps a built-in Monogram unit cooling reliably undercounter. Built-in models vent from the front, so they fit flush without a rear gap – but only if the front ventilation and clearances follow the model’s spec.
Plan the beverage center installation
- Confirm the model is rated for built-in installation, not freestanding only.
- Keep the front ventilation grille clear and unobstructed.
- Provide a dedicated, reachable power outlet.
Ventilation and clearance
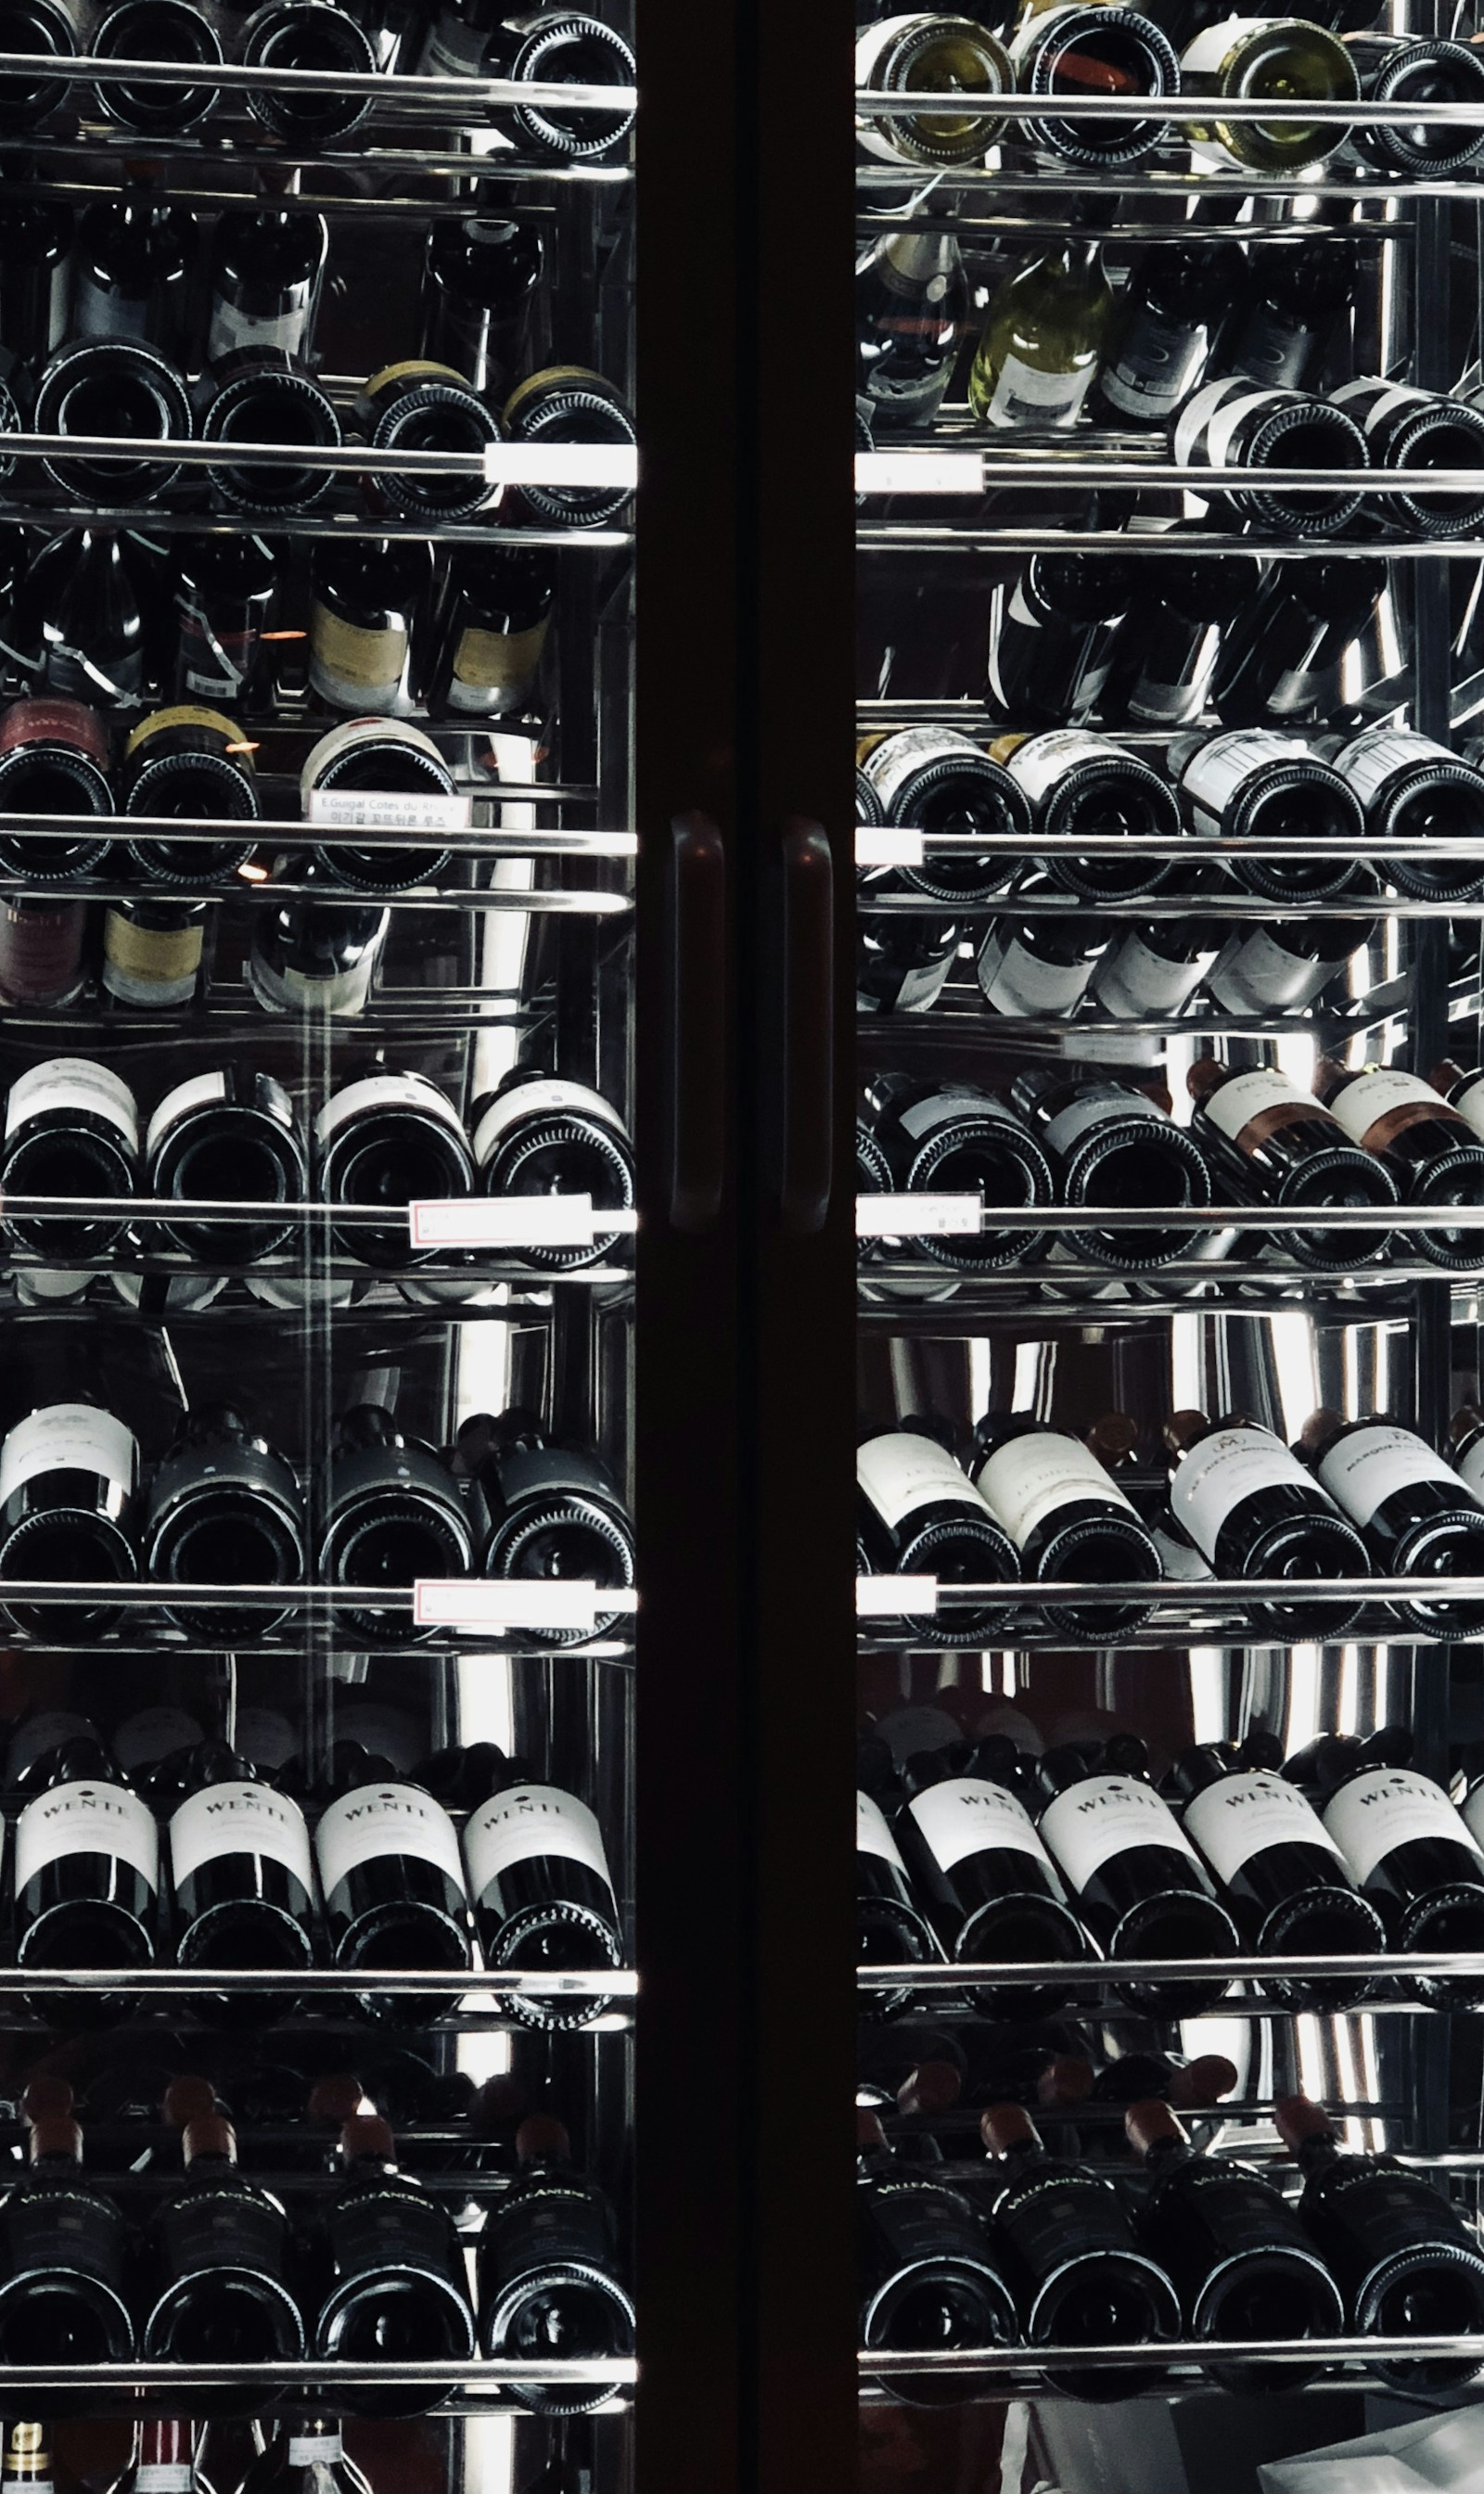
A built-in beverage center sheds heat through a front grille at the base. Enclosing a freestanding-only model, or blocking that vent, traps heat and causes the unit to run warm. Follow the model’s clearance spec exactly.
Fitting steps in brief
- Confirm the cabinet opening matches the model’s dimensions.
- Slide the unit in, leaving the specified clearances.
- Level it so the door self-closes and seals.
- Keep the front grille fully exposed for ventilation.
For ongoing care, see our beverage center maintenance guide. If a correctly installed unit will not cool, the not-cold guide helps.
Why ventilation is everything
Most undercounter cooling problems trace to a blocked vent or an enclosed freestanding-only unit. If a correctly installed unit still will not get cold, our beverage center repair service can diagnose it – book a visit. Clearance specs are on the manufacturer’s site, monogram.com.
Setting a beverage center into cabinetry
A clean beverage center installation comes down to three things done right: ventilation, a level cabinet, and confirming the model is rated for the build you intend. A Monogram ZDB unit (ZDBT240PBS, ZDBI240HII) is a front-vented, undercounter appliance, which is precisely what lets it slide into a run of cabinets and still cool properly, provided the install respects how it breathes.
Front venting and the cardinal rule
Because the center is front-vented, it draws air in and exhausts warm air out through a grille at its base, not from the sides or back. That is what makes enclosing it on three sides acceptable. The non-negotiable rule: keep the front grille clear. No toe-kick trim, stored boxes, or panels may cover it. And never enclose a freestanding-only model; a unit not rated for built-in use traps its own heat in a sealed cabinet, overheats, and fails. Verify the model rating before you cut the opening.
Installation steps
- Match the niche. Build or confirm the opening to the model exact width, height, and depth. Undercounter units do not flex to fit an oversized hole.
- Provide power. Run a dedicated, grounded electrical supply within reach. A beverage center needs electricity only, no water line.
- Insert and level. Slide the unit in and level it front-to-back and side-to-side on its feet so the glass door self-closes and seals.
- Check the door and panel. Confirm the door clears adjacent cabinetry; on panel-ready models (the II suffix, e.g. ZDBI240HII), match the custom panel reveal to neighboring doors.
- Confirm airflow before trim. With the unit seated, verify nothing blocks the front grille and warm exhaust has a clear exit.
Handle those steps in order and a beverage center installation will hold a steady temperature with a door that closes itself every time. Skip the venting or level check and you inherit warm drinks, a door that drifts open, and a compressor running far harder than it should.
Electrical and placement notes
Position the dedicated outlet so the plug does not foul the cabinet depth, and avoid installing the center directly beside an oven or dishwasher where ambient heat raises the load. Leave the specified clearances even though the unit is front-vented, and verify the door swing clears adjacent cabinetry before final trim.
Get expert Monogram help
Still stuck? Our beverage center repair service uses genuine Monogram parts and a labour warranty. Schedule service any time, and review model details on the manufacturer’s site at monogram.com.