Getting undercounter wine reserve installation right keeps a built-in Monogram wine unit running reliably for years. Built-in models vent from the front, so they sit flush under a counter without a rear gap – but that only works if the front ventilation and clearances are correct.
Plan the undercounter wine reserve installation
- Confirm the model is rated for built-in (integrable) installation, not freestanding only.
- Keep the front ventilation grille clear and unobstructed.
- Provide a dedicated, reachable power outlet.
Ventilation and clearance
A built-in wine reserve sheds heat through a front grille at the base. Enclosing a freestanding-only model, or blocking the front vent, traps heat and causes the temperature swings that harm wine. Follow the model’s clearance spec exactly.
Fitting steps in brief
- Confirm the cabinet opening matches the model’s dimensions.
- Slide the unit in, leaving the specified side clearances.
- Level it so the door self-closes and seals.
- Keep the front grille fully exposed for ventilation.
To set the zones once installed, see our dual-zone wine cooling guide. For ongoing care, read the wine refrigeration maintenance guide.
Why ventilation is everything
Most undercounter wine cooling problems trace to a blocked vent or an enclosed freestanding-only unit. If a correctly installed unit still will not hold temperature, the not-cooling guide helps, or our wine refrigeration repair service can diagnose it – book a visit. Clearance specs are on the manufacturer’s site, monogram.com.
Fitting a reserve beneath the counter
A successful undercounter wine reserve installation lives or dies by ventilation and leveling. A Monogram ZDW reserve is engineered for built-in, undercounter use, but that only works if the unit can reject its heat through the front and sit dead level so the door seals and the low-vibration system runs as designed.
Front ventilation is the rule
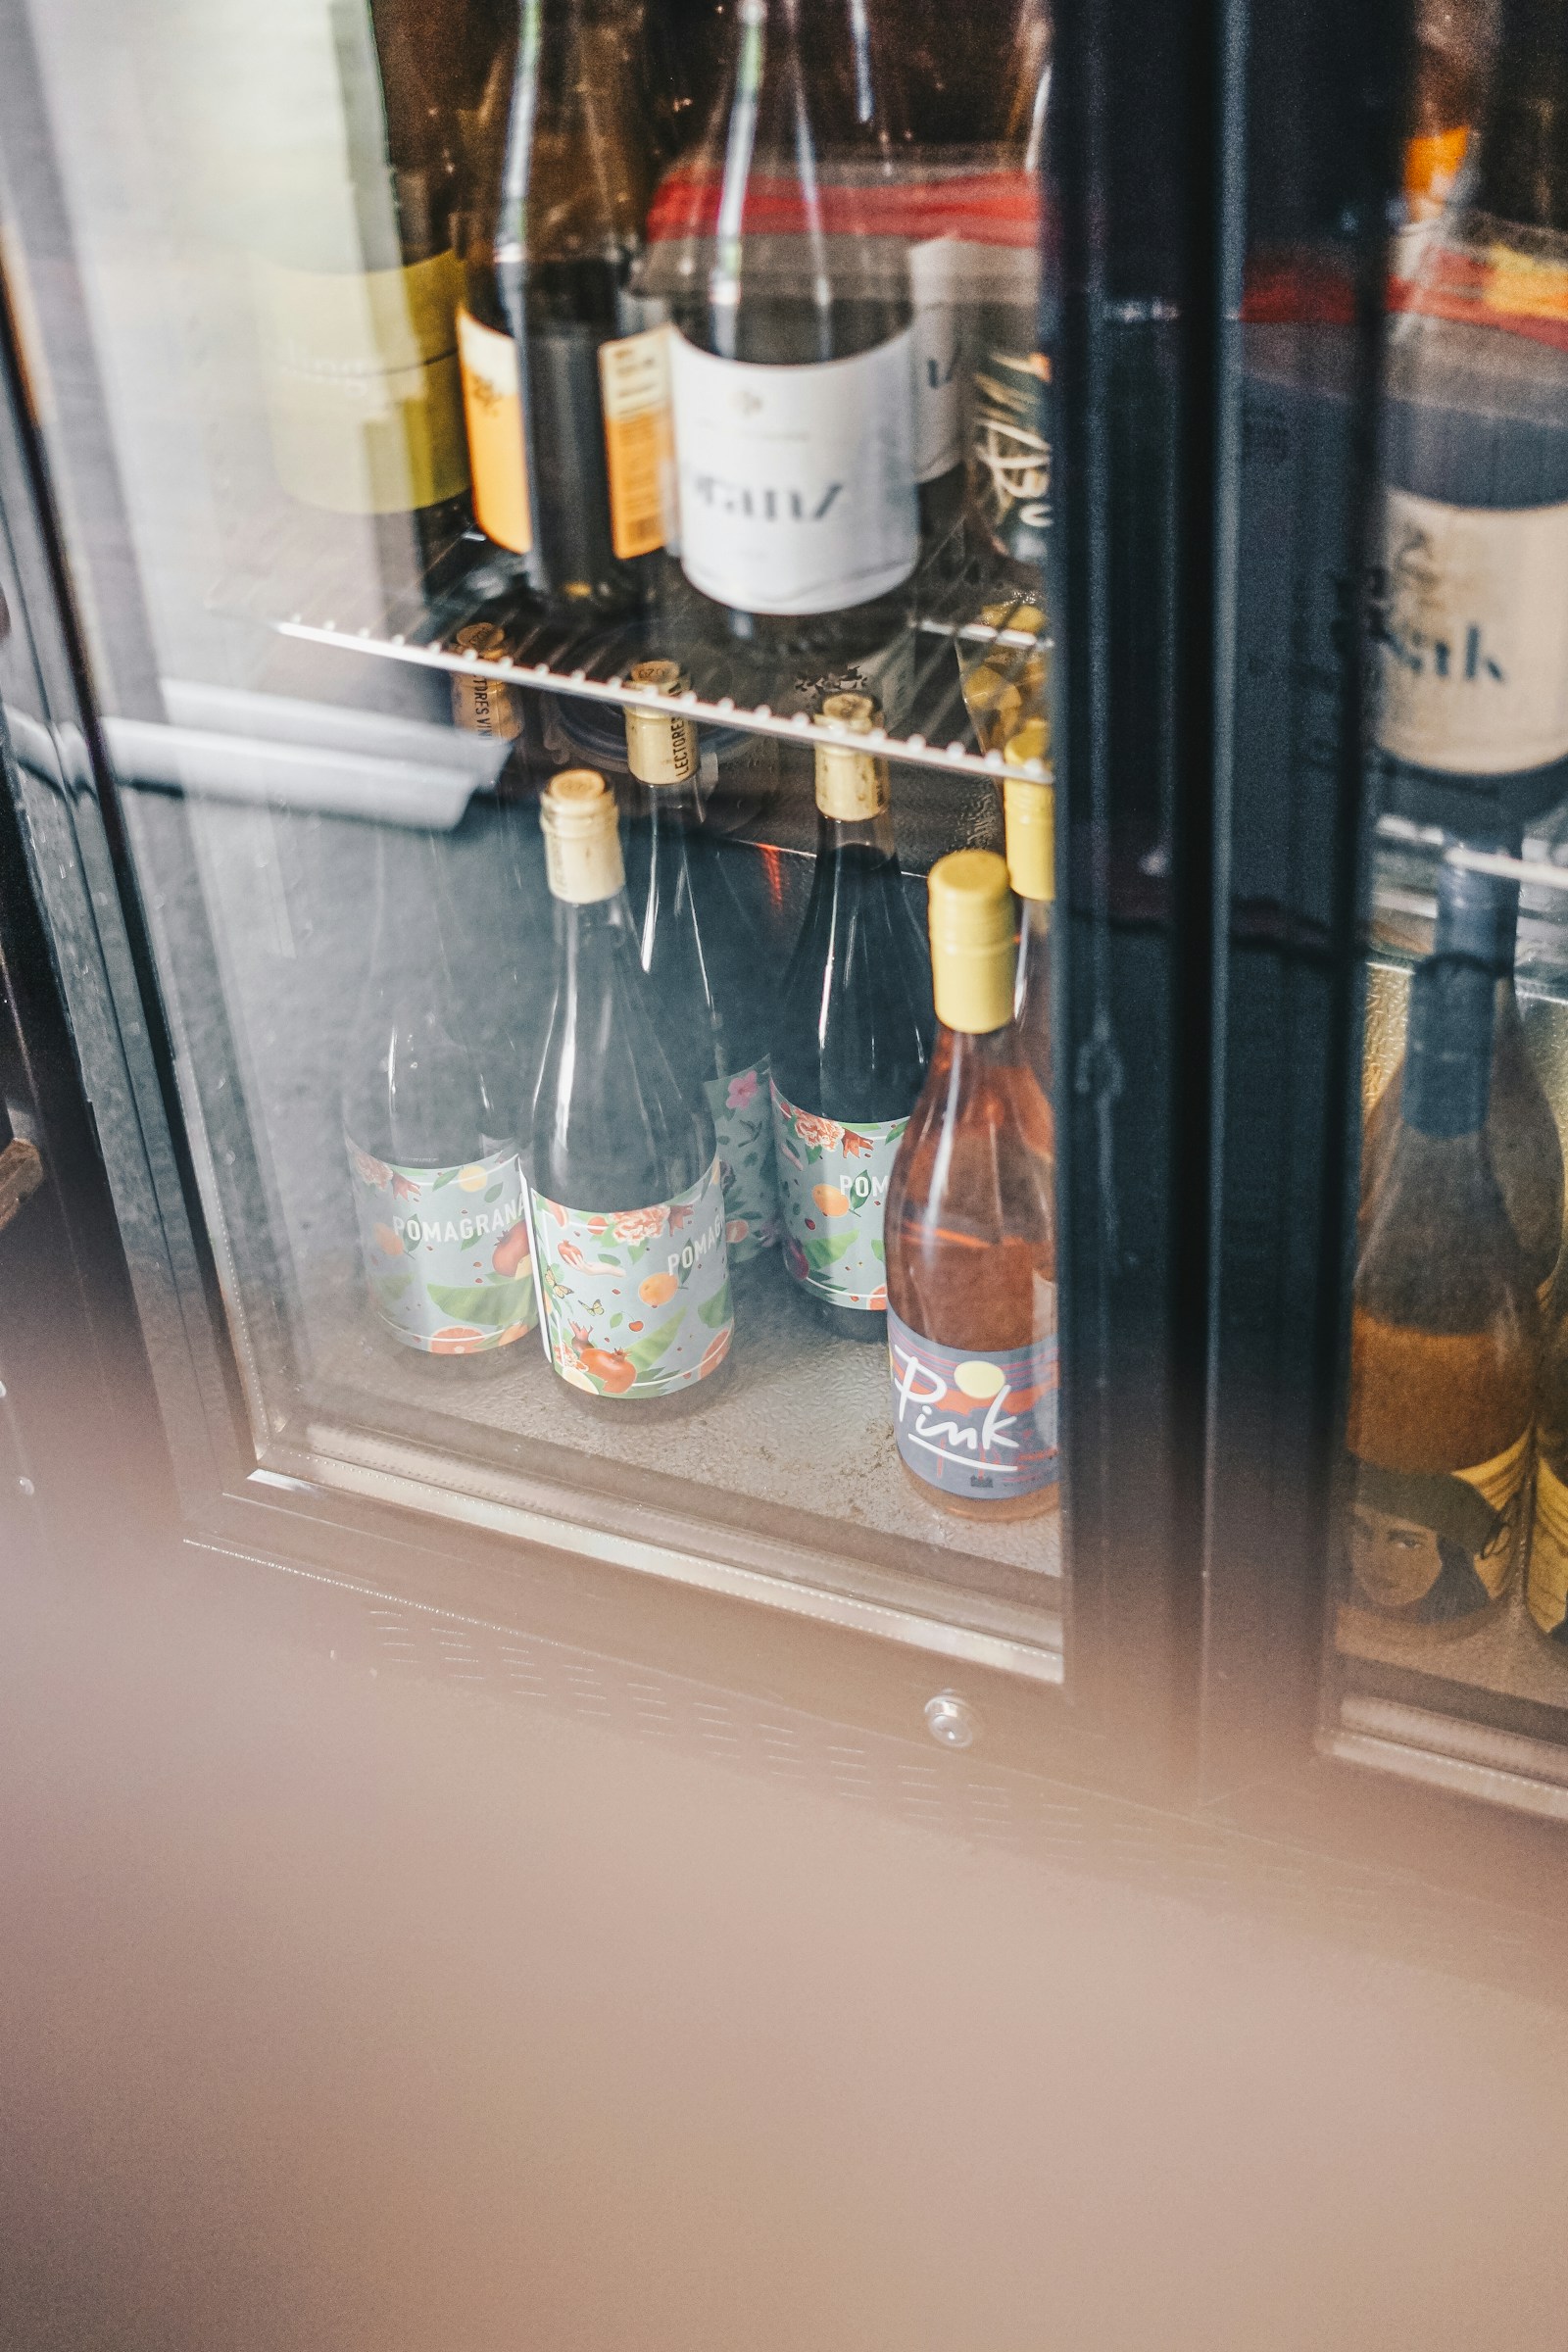
An undercounter reserve is front-vented: it draws air in and pushes warm air out through a grille at the base. That is what makes it safe to enclose on three sides inside a cabinet run. The single hard rule is to keep the front grille clear. Never trap it behind a toe-kick panel, a stored item, or trim that blocks airflow. A reserve that cannot breathe runs warm, works its compressor overtime, and never holds a steady serving temperature.
Step through the install
- Confirm the niche. Match the cabinet opening to the model specified width, height, and depth. Undercounter units are not adjustable the way a freestanding box is, so the opening must be right.
- Run services to the spot. Provide a dedicated, properly grounded electrical supply within reach. A wine reserve needs power only, no water line.
- Slide in and level. Level front-to-back and side-to-side using the unit feet. A level cabinet keeps the glass door self-closing and sealing, and keeps vibration low.
- Set the door swing and reveal. Confirm the door clears adjacent cabinetry and, on panel-ready models (the II suffix, such as ZDWI240WII), that the custom panel reveal matches neighboring doors.
- Verify the grille. Before final trim, check nothing covers the front grille and that warm exhaust has a clear path out.
Freestanding versus built-in
Always confirm the specific model is rated for built-in undercounter use before you enclose it; a unit intended to stand free must never be sealed into a tight cabinet. Get the venting, leveling, and clearances right and your undercounter wine reserve installation will hold steady dual-zone temperatures for years with a door that closes itself every time.
Confirming the build rating
Before enclosing any reserve, check the spec sheet to confirm the model is rated for built-in undercounter use rather than freestanding only; sealing a freestanding unit into a tight cabinet traps heat and shortens its life.
Get expert Monogram help
Still stuck? Our wine refrigeration repair service uses genuine Monogram parts and a labour warranty. Schedule service any time, and review model details on the manufacturer’s site at monogram.com.